Top-Rated Cleaning Companies Winnipeg: Your Relied On Cleaning Partners
Wiki Article
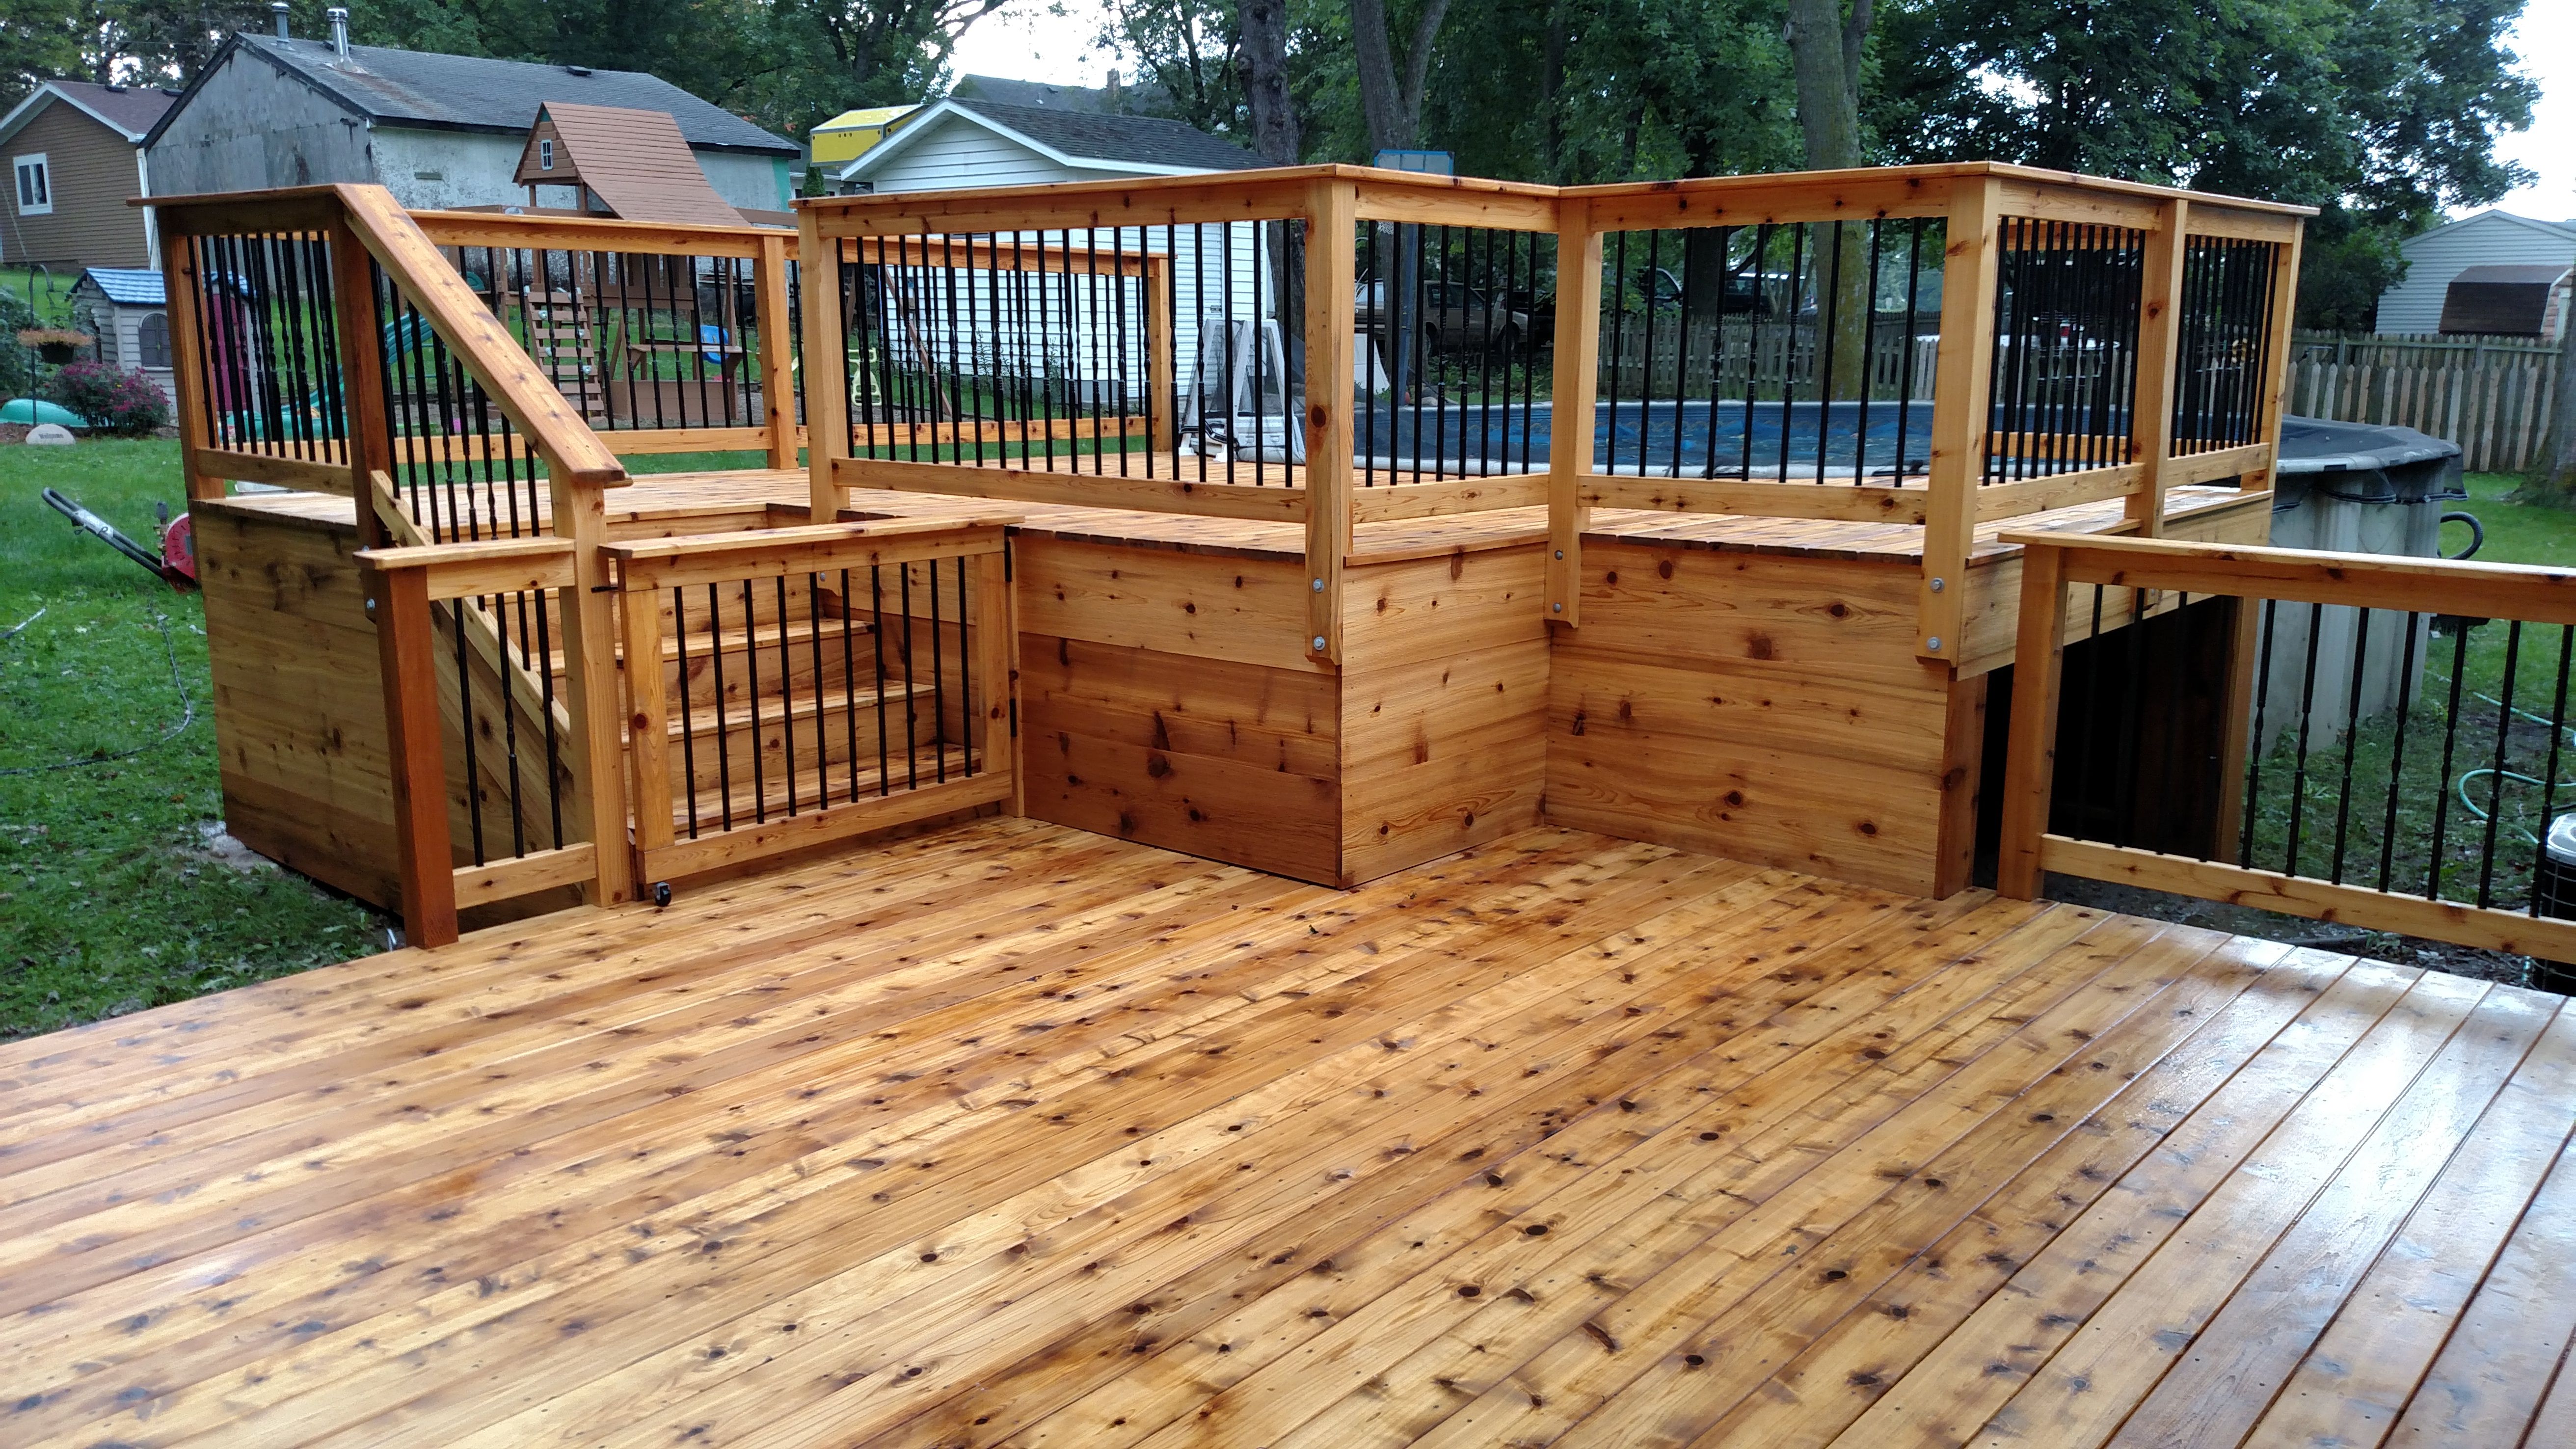
Deck Staining Made Easy: Step-by-Step Guide for Do It Yourself Fanatics
Are you a Do it yourself enthusiast looking to offer your deck a fresh new look? In this step-by-step guide, we will certainly walk you through the process of deck discoloration. With our easy-to-follow guidelines, you'll be able to transform your deck right into a beautiful outside space in no time.Preparing the Deck Surface Area
Prior to you begin discoloring the deck, make sure you're properly cleaning up and fining sand the surface area. Use a power washing machine or a tube with a high-pressure nozzle to completely clean up the deck. Pay close focus to areas with stubborn spots or mold and mildew, and also make use of a deck cleaner or a combination of cozy water as well as mild cleaning agent to treat them.When the deck is completely dry, it's time to sand the surface. Get a handheld orbital sander or a fining sand block, and begin sanding the deck boards in the direction of the wood grain.
Selecting the Right Stain
When picking the ideal tarnish, you'll intend to think about the type of wood you're working with. Various sorts of wood have various attributes that can influence how well they take in the discolor. Softwoods, like pine or cedar, often tend to take in tarnish more readily than woods, such as oak or mahogany. Maintain this in mind when picking your tarnish to guarantee you attain the desired finish.Stains come in a variety of tones, from light to dark, and can dramatically change the look of your deck. If you're looking to enhance the all-natural shade of the wood, choose a clear or semi-transparent tarnish.
Lastly, think concerning the level of security you desire for your deck. Spots with higher degrees of pigment often tend to offer better security versus UV rays and also wetness. If your deck is exposed to rough weather condition problems, it's worth purchasing a stain with included protective qualities.
Cleaning and Fixing the Deck

Applying the Spot
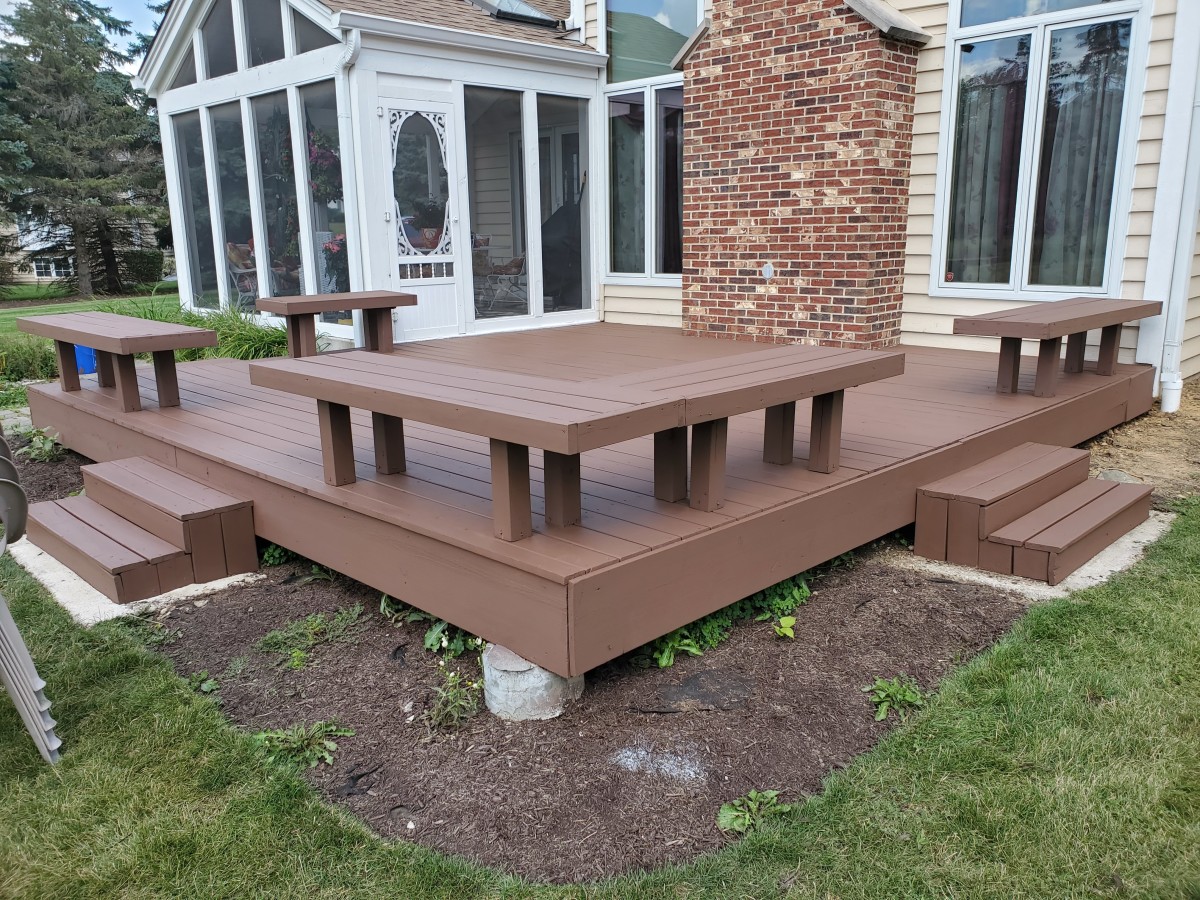
Completing Touches and also Upkeep Tips
After applying the final layer of tarnish, it's important to frequently tidy and seal your deck to keep its appeal as well as safeguard it from the elements. Cleansing your deck ought to come to be a component of your routine maintenance routine. Make use of a mop or leaf blower to eliminate any dirt, leaves, or particles that may have built up on the surface area. For a much deeper clean, you can make use of a power washer, however beware not to make use of excessive stress as it can damage the wood. As soon as the deck is tidy, it's time to secure it. Select a high-quality sealer that is especially made for decks and also use it according to the producer's instructions. A sealant will certainly not only shield the timber from wetness and UV rays, yet it will likewise enhance the color and coating of the stain. It's recommended to use a brand-new coat of sealer every 1-2 years to keep your deck looking its ideal. By regularly cleansing and sealing Winnipeg cleaning services your deck, you will expand its life expectancy and also make sure that it remains an attractive and welcoming outside room for several years to come.
Conclusion
Report this wiki page